Import Models
The Import Models feature lets you bulk create product models from a structured file. Use it when onboarding many products at once instead of creating models manually one by one.
Imported Models are created in published status. After import, you are redirected to the Products list filtered to show only the Models created in the last import.
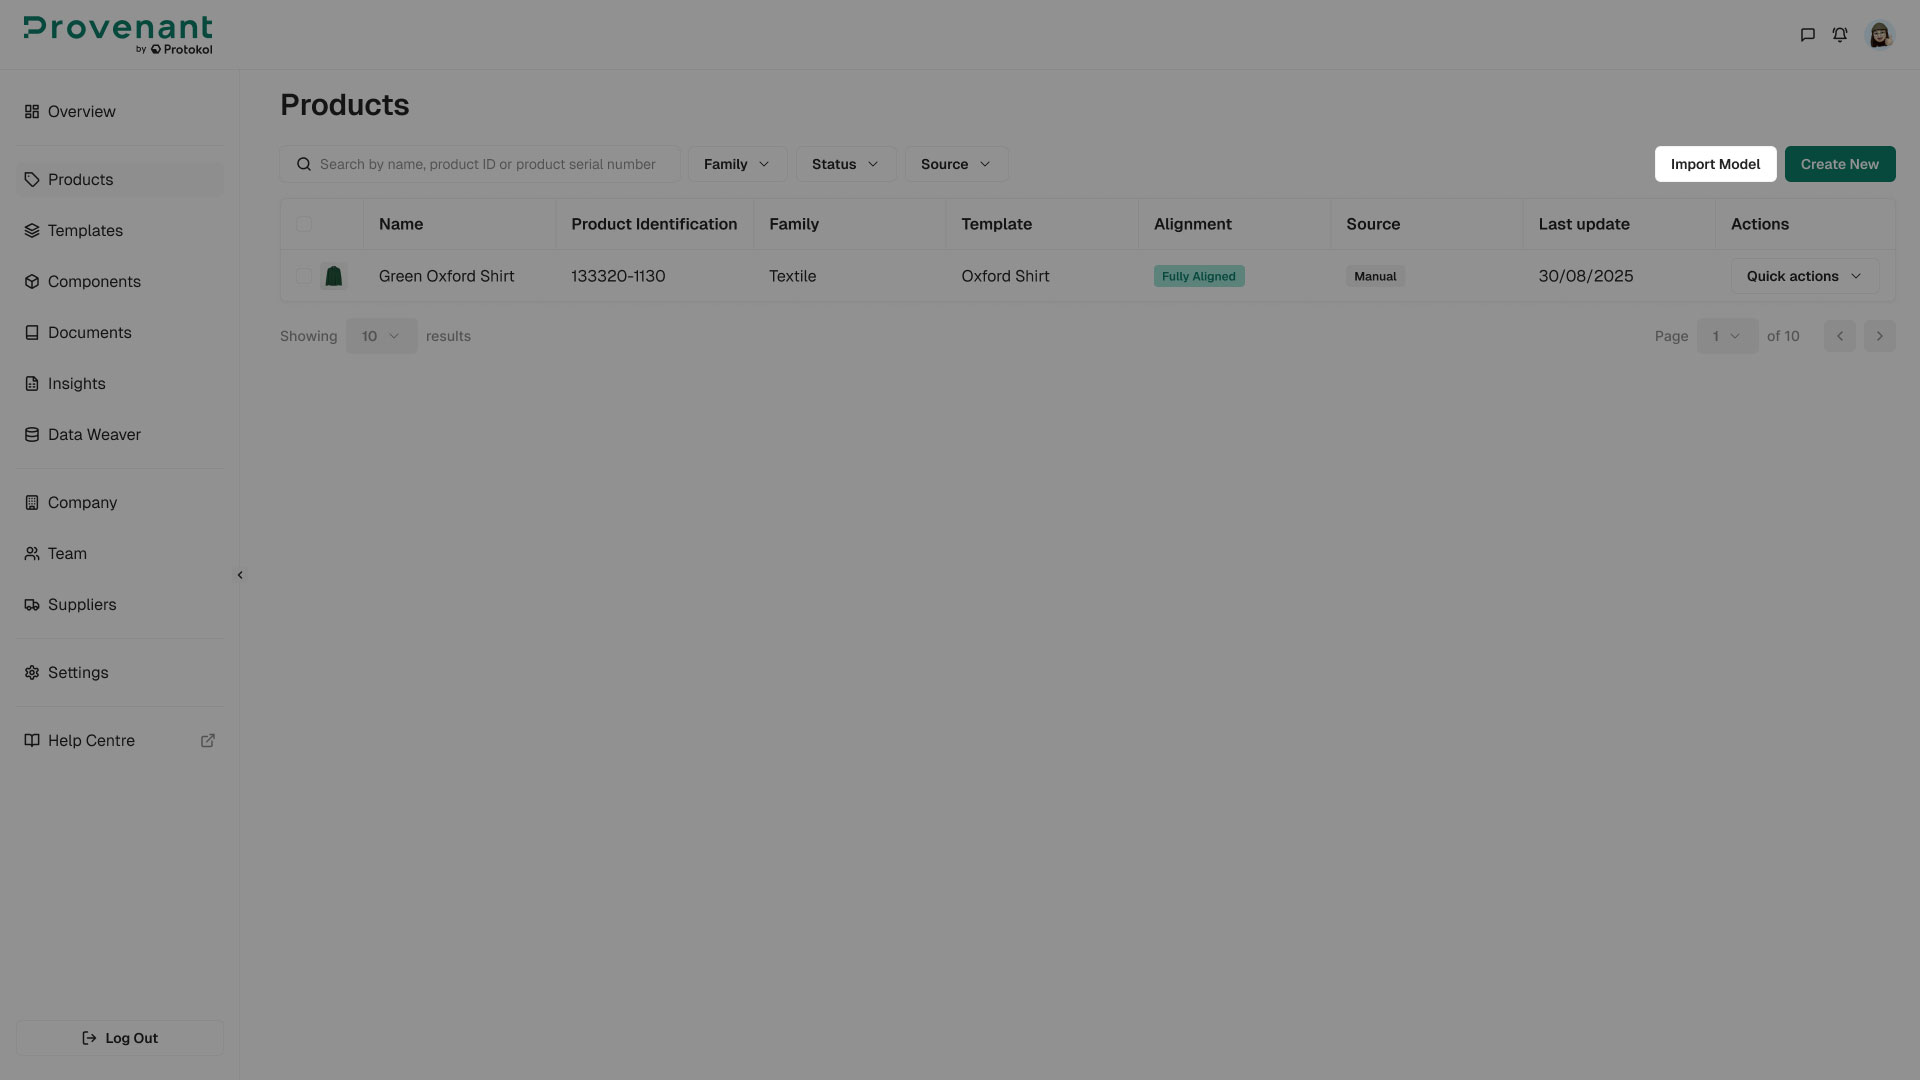
Where to find it
- Open
Productsfrom the left navigation. - In the top right of the screen, select
Import Models(next to Create Model).
The button is only visible to users whose role includes the import permission.
Import flow
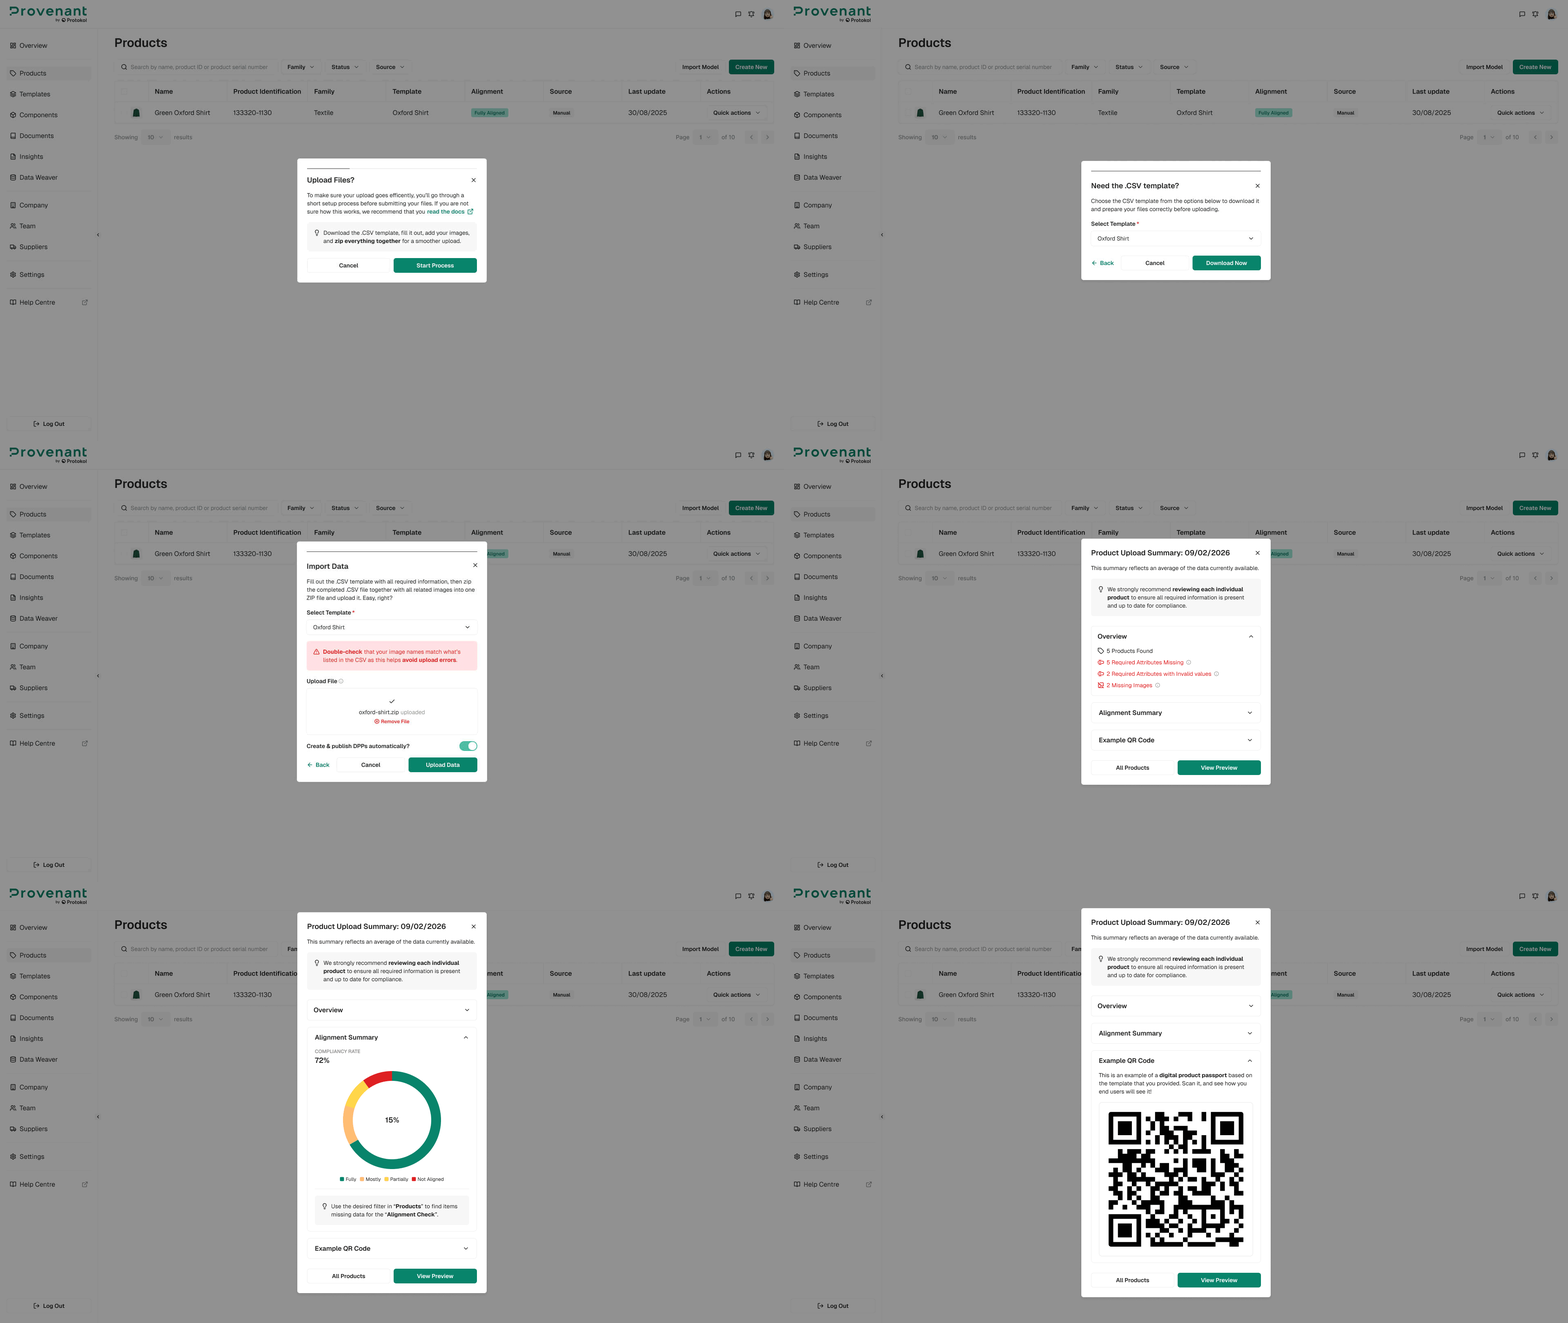
The import is structured as a guided flow with five modals:
| Step | Description |
|---|---|
| 1. Upload Files? | Entry modal that introduces the import. Includes a link to documentation, a Cancel button, and Start process to begin. |
| 2. .CSV Template | Choose a template from the dropdown, preview it, then click Download Now to download a CSV template tailored to that template. |
| 3. Import Data | Drag and drop or pick a .zip file that contains the completed CSV plus any referenced files. All data rows must start from row 6 onward. Click Upload Data to send it to the platform. |
| 4. Product Upload Summary | Shows the result of the import: total rows processed, successfully created Models, failed rows, alignment summary (pie chart), and an example QR code for the first DPP. Choose View Preview or All Products. |
| 5. Product Preview | Lists newly created Models with a DPP Preview snapshot for each. Choose Upload More to start a new import or All Products to return to the filtered Products list. |
Preparing the CSV template
Each downloaded CSV is tailored to the template you select. The file is semicolon (;) separated and contains five metadata rows at the top:
SECTION– The section the field belongs to (for example, General Information).FIELD– The control identifier (for example, product-name). Required fields are marked withrequired.TYPE– How the value should be interpreted (string, number, boolean, string[], file, file[], documentName, url).OPTIONS– The allowed values for dropdowns, checkbox lists, and toggles, separated by ;EXAMPLE– A sample value to show how to fill the column.
Your product data starts in row 6. Use ; to separate values inside list-type cells (for example, file[] fields).
Filenames and assets
File-type columns expect the names of files that exist in your .zip alongside the CSV (for example, front.jpg;back.jpg). Document-type columns expect existing document identifiers from the Documents Library.
Duplicable groups
If a template contains groups that can repeat (for example, certificates), the CSV expands those into a fixed limit of four entries with column suffixes 1 to 4 (for example, certificates.1.title to certificates.4.title).
Common issues
- ZIP rejected – Make sure the archive contains exactly one CSV at the root level. Other files are treated as assets.
- Structure mismatch – The CSV FIELD row must match the template exactly. Do not rename or remove fields. Re-download a fresh template if needed.
- Missing file – File-type cells must reference filenames included in the same .zip. Check spelling and case.
- Mandatory field empty – Required fields are marked with
requiredin the FIELD row. Empty values will cause the row to fail. - Duplicate row – Identical rows are rejected at insert time. Vary at least one value to differentiate them.
Each row is processed in its own transaction: if a row fails, the rest of the import continues. The summary modal lists which rows succeeded and which failed.